background

Friday, August 12, 2011

Yes I "CAN"

I have the fondest memories of the wonderful jam sandwiches that my grandmother made for us. She always brought us several jars of jam when she would come. She always made rhubarb jam. It was cherry rhubarb or strawberry rhubarb, and it was ALWAYS delish! I have looked all over my little corner of Texas for some rhubarb jelly in vain. Most Texans don't even know what Rhubarb is and sound a little scared when you mention it. LOL So I knew if I wanted some I had to make it myself. Ok women have canned forever. All sorts of women. I know I can do this.
So I googled recipes.  There were all sorts of recipes and lots of friends gave me advice.  Usually in the form of some horror story of how they blew up this kind of jelly or that kind of jam all over the ceiling.  It makes it kinda scary.  I found a simple sounding recipe and decided to give it a try.  Here is the link if you want to give it a try.  http://www.tasteofhome.com/recipes/Raspberry-Rhubarb-Jam

So I gathered all the supplies.


6 cups sliced fresh or frozen rhubarb


4 cups sugar

1 package (6 ounces) raspberry gelatin

1 can (21 ounces) raspberry pie filling

First you combine the sugar and rhubarb to set overnight.
 

Then you put that into a pan to simmer for thirty minutes or until the rhubarb is tender.  I put my rhubarb in  the blender so it wouldn't have large chunks and it worked well.  I stirred pretty regularly.


Then you add in the pie filling and jello powder.  It darkened the mix quite a bit. 
 
Finally I used a canning funnel to pour it into jars.  It came out beautifully.  Just like I knew what I was doing. 


I got rave reviews.  It was so easy and tasted better than I hoped.  Of course we immediately started dreaming of  things we could substitute.  I tried peach rhubarb the very next day.  It is such a pretty color, and tasted so good my dad said, "It should be illegal."  LOL  Dad is thrilled I am making jam.  I guess I wasn't the only one who missed it.   


So I think next I may try blueberry rhubarb.  Hmmm.  What flavors can you dream up?

Linking up at:

Lovely Crafty Home


Photobucket


Wednesday, August 10, 2011

Etching a frame

One of the kids who used to be in our youth group was getting married a couple of weeks ago and I wanted to make a special personalized gift for them.  I love to make something personal for gifts.  So I decided to etch a frame for them.  I have made several, but wanted to do a tutorial so you can try it too. 
First you gather your supplies.  You need a frame, vinyl, material, Armour Etch, transfer tape, and a paintbrush. 

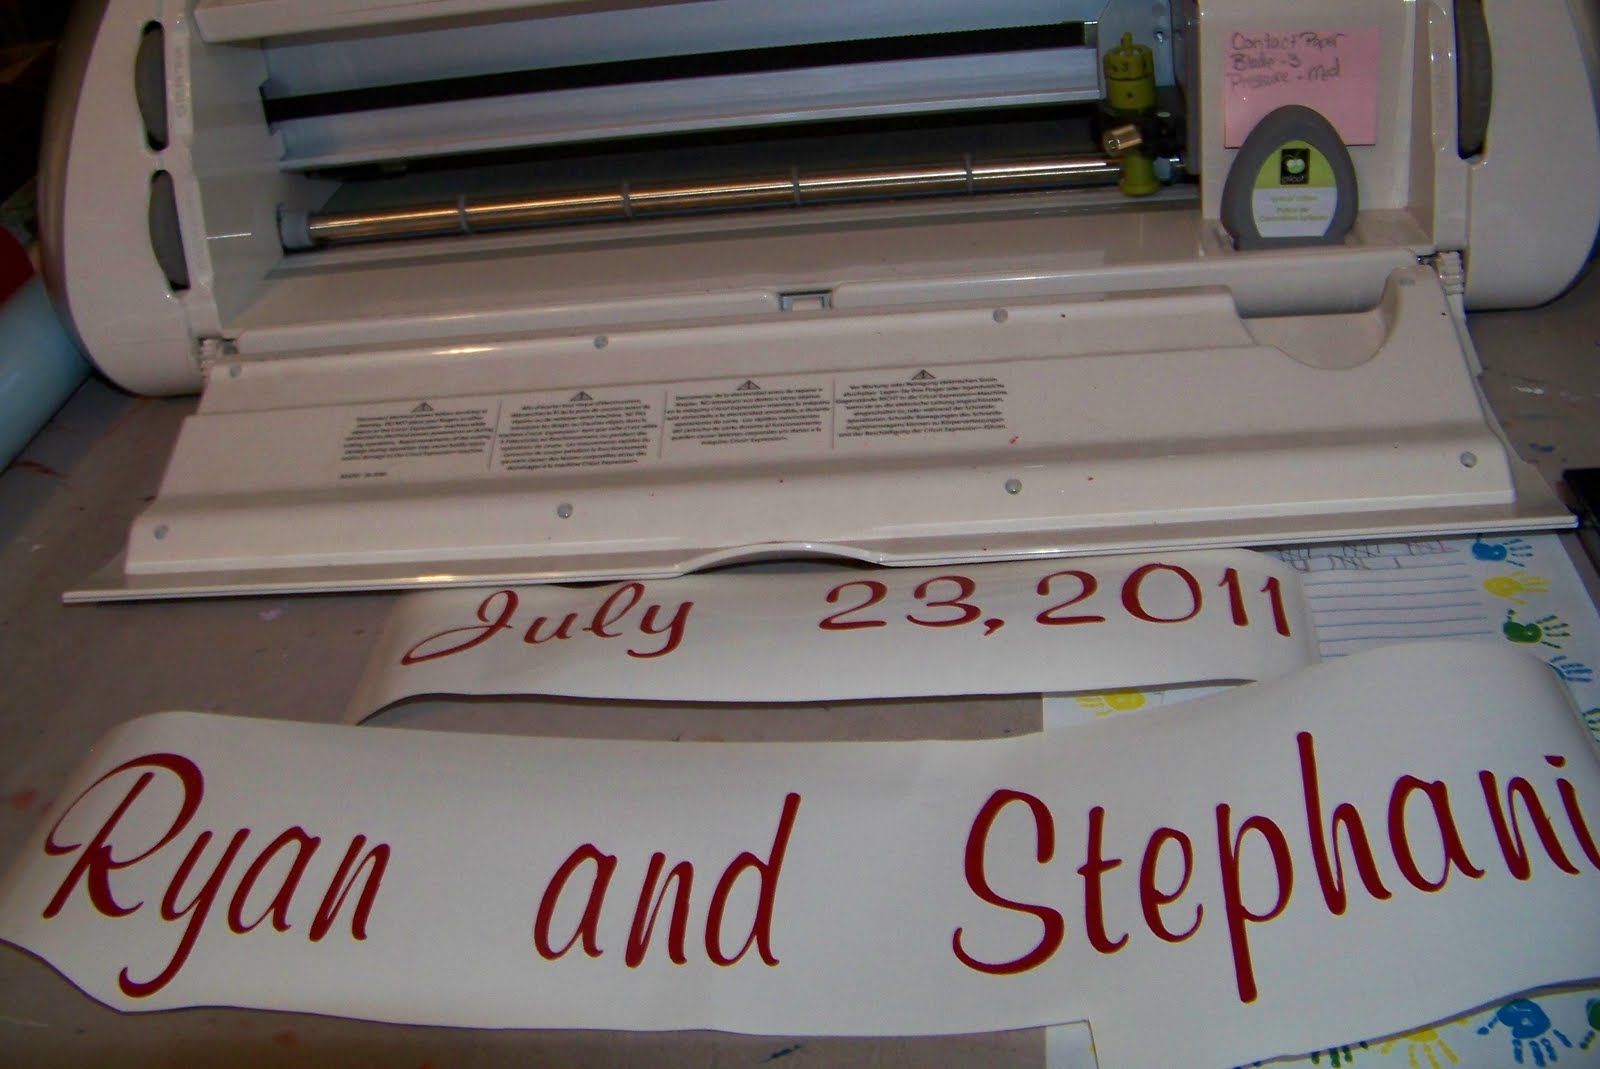
Then you need to cut out your letters.  I used my cricut.  Any cut vinyl would work, you can use a Silhouette, or even cut it by hand. 

You want to save the negative space.  I used some extra burn orange vinyl, but you can use any color.  It is just going to be thrown away.  Then you use transfer tape to move it on to the glass. 

The transfer tape keeps all the letters in the shape they are intended to be in.  Once you remove the tape you are ready to brush on the etching cream. 


You need a pretty thick coat.  When you get all the blank spots covered you want to let it sit for about 15 minutes. 
Now you are ready to rinse.  I usually try to have a pretty high powered stream of water and then I just rub of any remaining etching cream.  You want to be sure to continually rinse so the cream doesn't accidentally etch a place you didn't intend. 


Now you can remove the vinyl.  As you can tell the letters etched rather nicely.  I usually go ahead and clean the glass with Windex at this point. 
Then I chose the font to cut their names and date with.  I then added the fabric to the back of the frame. 

I just trimmed it to fit and used a very light layer of Mod Podge to keep it in place.   Then you just put it all together.  I used transfer tape once again to put their names on the frame.  I think it turned out great.  I hope they love it too. 

Sorry the picture isnt' better.  It is pretty hard to take a picture of etching. 


I am linking up at:


NightOwlCrafting


Catch a Glimpse Button


Somewhat Simple

Monday, August 8, 2011

My newly remodeled kitchen

We finally finished all the sanding, demo, painting, tileing, and rebuilding!!!!!!   So here are a few pics of the finished but not yet decorated product.  :)

First I took two befores.


Sorry the pics are not so great.  I just used my iphone as we went along, but I think you can get the idea.

First we tore out the old cabinets and sanded down the ones we were keeping.  As all projects go we found some unexpected nasty sheet rock.  So of course we got to replace it.  Then we went ahead and added in the new cabinets.  Tiled the backsplash.  I know I already blogged about it, but here is one more pic just for fun.

I love the way the pattern came out.  So pretty!  My hubby and Dad did an awesome job! 

So anyway here are the mostly finished pics.  I am sure you will see some more projects soon. 


I love my new sink and my awesome faucet!


Isn't she beautiful?  It has to be a she because it is waaaaaaaay too pretty!!!!  :)


Don't my birthday curtains look beautiful with the new paint colors??  I couldn't be more pleased with how it all turned out.  It was tons of work, and my husband and I decided next time it would be easier to move instead.  lol   BUT I am loving my new kitchen!!!!  What do you think???
I'm linking up at:
Tip Junkie handmade projectsNightOwlCrafting


Catch a Glimpse Button


Sunday, August 7, 2011

I can't believe all the junk on here

One of the many blogs I follow is Tales of a Trophy Wife. She added the funniest post about what is on her nightstand, and I decided to play along. So true confessions, here is a picture of my nightstand:
I have a horrible habit of working on projects late at night.  My hubby is usually at he computer desk in our room so I end up  using my poor nightstand.  I have on it tonight...
The phone actually on the charger
A box of recipes (this is for a Christmas project I have been working on)
My Twilight Books (I am totally Team Edward and totally addicted!)
You will notice I have a stack of papers on top of that it includes...
the school supply lists for my boys
misc. papers from registration
the new Entertainment Weekly magazine (it's the Hunger Games edition YAY!)
a mother's day card
another cookbook
lotion
a bag of supplies for Polish Christmas stars (I will do a post on those sometime in the near future)
and last but not least my alarm clock
Oh yeah and a nice layer of dust from sanding down the cabinets in the kitchen remodel (I have reclaimed some of our house but our room is last on the list)

So feel free to play along.  If you do please share the link!  I would love to see what's on your nightstand...  well, unless it is much cleaner than mine.  ;)

Saturday, August 6, 2011

The black grout experiment

Yes I can hear you saying it already.  Black grout what are you thinking?!?  I love the look of black grout.  So when we decided to redo our kitchen, I immediately thought of doing the back splash with black grout.  First I looked at tile EVERYWHERE we went.  I noticed how often restaurants all over town have done the same.  I was even more convinced as I saw more different kinds of tile with it.  So when I went tile shopping I have to confess I felt very overwhelmed.  My hubby told me I could choose whatever tile I liked.  Well I like lots of different kinds of tile.  I found tons of beautiful choices, but here is what I fell in love with.

A beautiful copper glass and venetian stone combo.  Pretty right?

At this point we were just getting started because now we had to decide what design we wanted to do.  There are lots of possible combinations when you have 4 in and 3/4 in tiles to work with.  After lots of suggestions and tons of pro and con discussions.  We chose to put the tile on the bias and cut out a square for four of the copper tiles.  Here is what it looks like before the grout.

Then we decided to do a little something different over the stove.


When we got the grout over the tile, I wasn't too sure the tile wouldn't be ruined.  It was a little intimidating to see it all covered in black.  Those stone pieces were pretty light in color. 


So we started scrubbing.


It looks like a hot mess, but it really was pretty manageable.  When we finished scrubbing this is what we had.


I absolutely adore the new back splash and think it ties in beautifully with the counter top and black cabinets.  I would say the black grout experiment was a success!!!  So what do you think?  Would you or have you used it in your home?


I'm linking up at:
UndertheTableandDreaming

Tip Junkie handmade projects